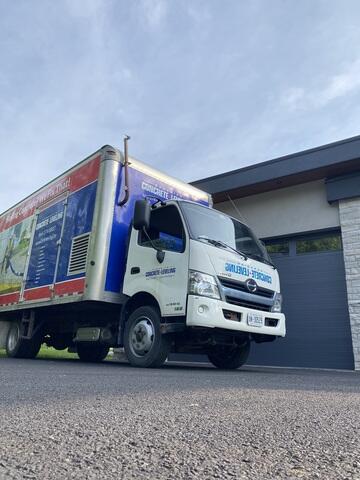
Truck shot
A look at our insulated trucks that house our PolyLevel®
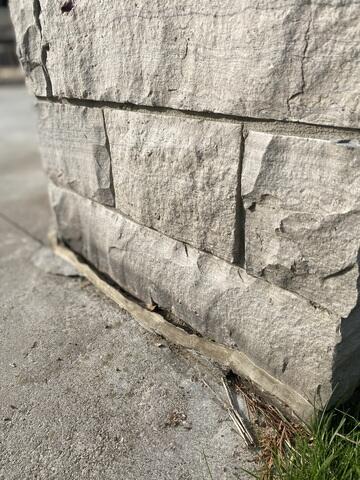
Around the corner
Not only did it affect the outdoor kitchen, but since the patio is composed of larger slabs, it started to sink the slabs around the corner.
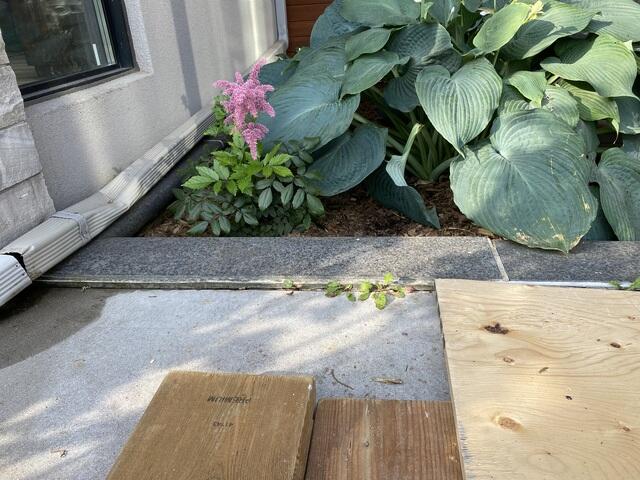
Side spot
Upon arrival, there was one small area, not mentioned, that needed leveling and was tucked away on the side of the home. An easy leveling opportunity.
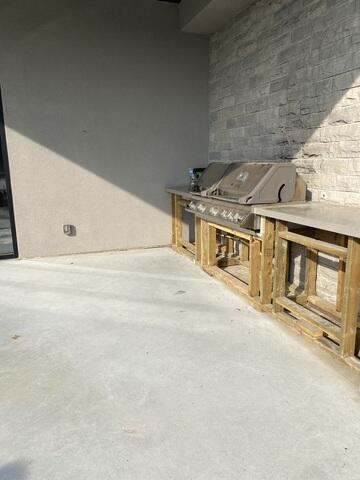
Main area
The main area that started sinking was the outdoor kitchen.
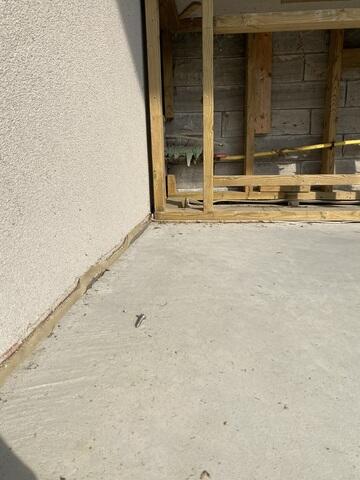
Inches lower
Notice the grout starting to separate because of how low the concrete was sinking.
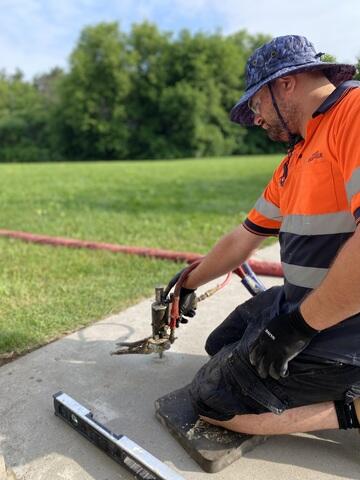
Hard at work
Kyle McKeown injecting our PolyLevel® into the concrete.
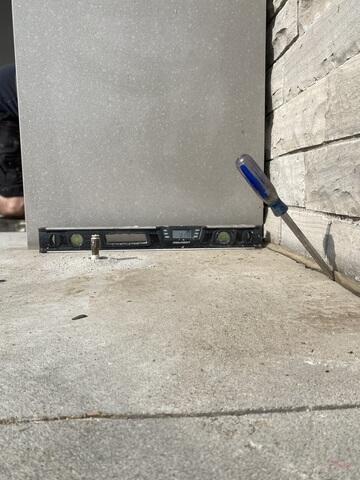
Marking the leveling
A common technique is to wedge a screwdriver to see how much is getting lifted. Once the screwdriver is vertical, it is time to stop.
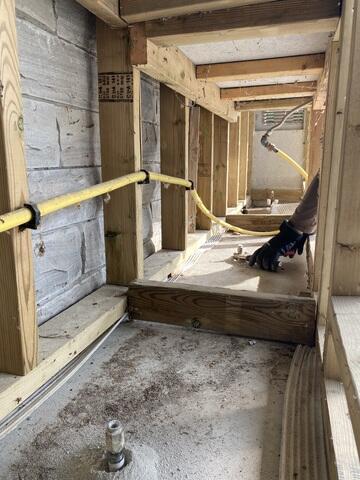
Underneath
We started injecting PolyLevel® underneath the bbq area. Thankfully Tim removed all the doors for us to access the area better.
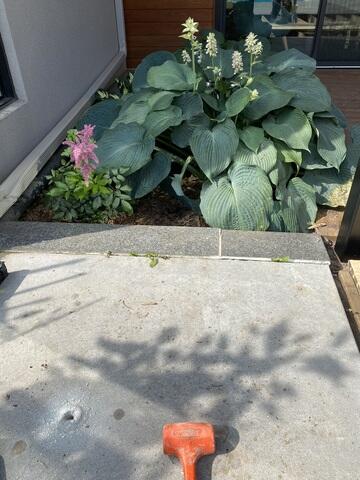
Dime-sized holes
Our holes we drill into the concrete are the size of a dime and once we are done leveling, they get covered with fresh concrete.
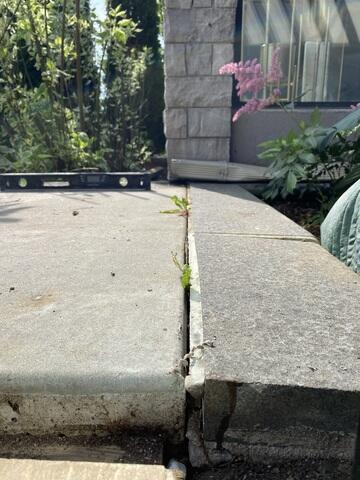
Side piece levelled
Just time to mallet the concrete edge to level it all out seamlessly.
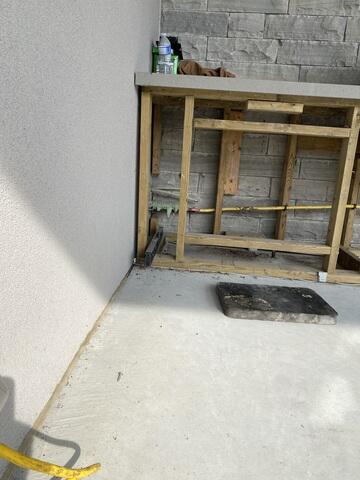
After
Notice the grout is connected again.

